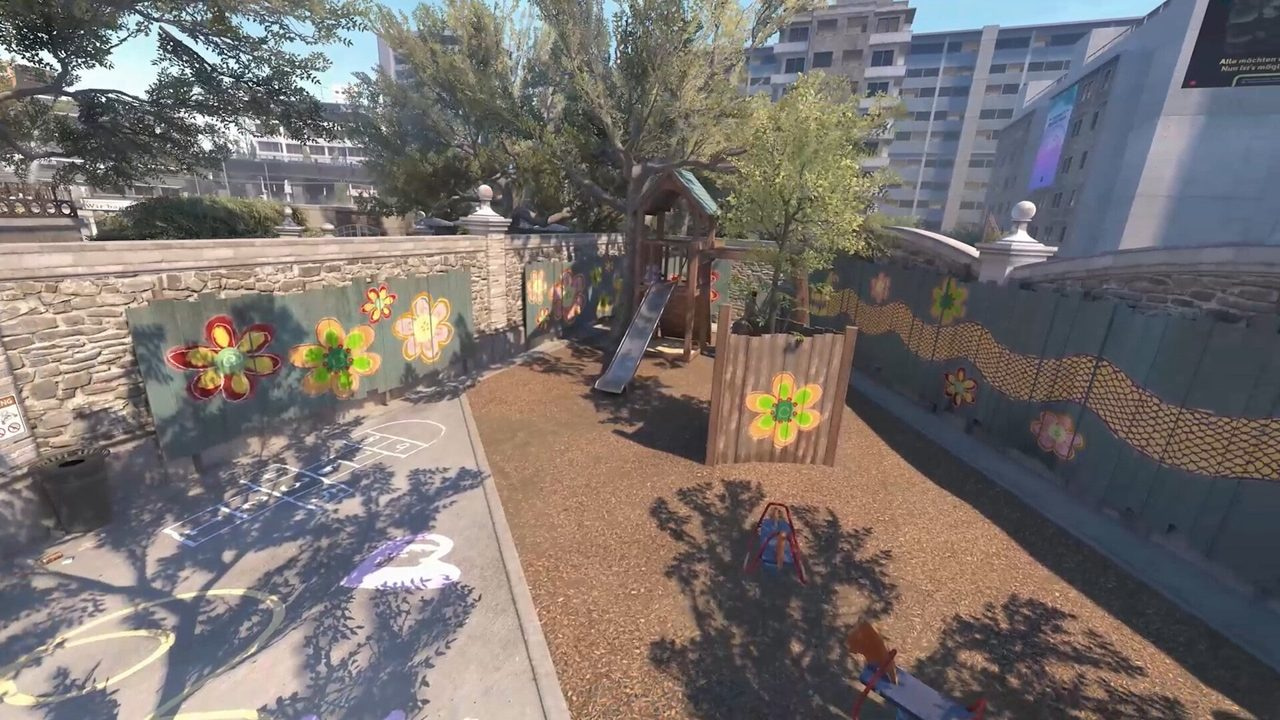
The AWP is Counter-Strike 2's highest-impact weapon — one shot can flip a round, a half, or a ranked game. Most AWP deaths in Premier are not aim failures; they are positioning failures, economy mistakes, and re-peek ego after a miss.
This guide covers when to buy and save, how to hold off-angles CT-side, how to take picks T-side without donating the rifle, peek discipline that survives subtick registration, and map-specific holds on the Active Duty pool. Pair AWP work with our economy guide and movement guide — the AWP rewards the same stop-shoot and jiggle habits riflers use.
If you are climbing Premier rating, read Premier mode structure first so AWP buys fit your team's half economy — not just your personal balance.
Quick answer: AWP fundamentals
- Buy AWP on full-buy rounds when your team has rifle utility to trade your angle — never solo AWP on a force.
- Hold off-angles where your scope sees them before they see you — common angles get pre-fired.
- Jiggle for info; wide swing only with flash support or when the round timer forces a commit.
- One shot → reposition immediately — static AWPs die to smokes and double peeks.
- Save the AWP only when the next round is winnable with rifles + saved gun — see economy rules.
- Miss = call it, fall back, and let riflers play passive — re-peek without trade is a donation.
- Practice flicks in deathmatch; learn when not to shoot in demo review.
Key takeaways
- Off-angles beat wide holds on common pre-aim spots — make them adjust to you.
- AWP economy is team economy — double AWP setups lose more halves than they win.
- Peek discipline matters more than flick speed in ranked below 15k Premier rating.
- Map-specific holds change every patch — drill two angles per map, not twenty.
- After a pick, rotate before they trade you — the AWP's value is the next angle, not the kill feed.
- Drop AWP to your best rifler on eco rounds when you cannot afford armor and utility.
Table of contents
- Key takeaways
- The AWP's role in Premier ranked
- When to buy the AWP — economy discipline
- CT positioning and angle philosophy
- T-side AWP picks and opening pressure
- Peek discipline — jiggle, shoulder, and commit
- Map-specific CT holds: Dust2 and Mirage
- Map-specific holds: Inferno and Nuke
- Team play around the AWP
- After the shot — reposition and save rules
- Common AWP mistakes in ranked
- Frequently asked questions
- Conclusion
The AWP's role in Premier ranked
In Premier and Competitive, the AWP is a force multiplier — not a solo win condition. A good AWPer creates space: CT-side by denying a lane, T-side by opening a pick that collapses rotates. A bad AWPer drains team economy: $4750 + armor every death with no trade.
Most teams need one primary AWPer and four riflers who can drop-pick when economy allows. If your team already has an AWP out, buy rifles unless the round is anti-eco or you have a rehearsed double-AWP setup on a specific map.
| Side | AWP job | Success metric | Failure mode |
|---|---|---|---|
| CT | Anchor a lane — long, mid, outside | Delay + pick + survive for retake | Die first contact with no delay |
| T | Mid-round pick after info | Open site or force rotate | First-blood attempt with no flash |
| Either | Save gun on lost rounds | AWP + rifle full buy next | Force AWP on $3800 with no utility |
| Either | Post-plant hold | Deny defuse from off-angle | Re-peek same angle after tag |
When to buy the AWP — economy discipline
The AWP costs $4750 before armor and utility. That is nearly a full rifle buy plus nades for a teammate. Buy it when your team is on a full-buy round, you have $5500+ after kit, and at least one rifler can trade your angle if you miss or die.
Never force-buy an AWP alone. If the team is on a force, buy a rifle and utility — you can pick up an AWP after a teammate dies. On pistol-round wins into round two, the AWP is rarely correct unless the team agreed on a stack and you have flash support for the pick.
- Save AWP when round is lost and next round is winnable with rifles + saved gun.
- Drop AWP to star rifler on eco if you cannot afford armor — rifle > naked AWP.
- Call 'AWP long' or 'AWP window' so teammates do not push without knowing your angle.
- After AWP whiff, call 'AWP down' — team plays passive until trade or rotate.
| Round state | Buy AWP? | Reason |
|---|---|---|
| Full buy — team $4000+ each | Yes, if you have trade support | AWP + rifle utility is the standard |
| Force after two losses | No — rifle + nades | One AWP death resets the half |
| Eco / save round | No — pistol or save | Drop saved AWP next full buy only |
| Anti-eco vs pistols | Situational double AWP | Only with map-specific setup |
| T-side after default info | Yes, mid-round pick | Pick opens site — not first contact |
| CT after lost pistol, $2400 | No — SMG or save | See pistol round guide |
CT positioning and angle philosophy
CT AWP positioning is about delay and information. You hold a lane enemies must pass to execute — long on Dust2, window on Mirage, outside on Nuke. Your job is not to get two kills; it is to get one pick, survive, and force utility before you die.
Off-angles beat on-angles. Holding long corner from pit is predictable — holding long from a slight off-angle in pit, or from a less common spot, forces enemies to clear multiple positions. Common angles get pre-fired, flashed, and smoked every round in Premier.
- Scope one angle at a time — unscope between checks to maintain movement speed.
- Have a fallback position after first contact — pit to site, window to jungle.
- Coordinate with rifle anchor on same site — crossfire, not duplicate angles.
- Use incendiary or HE before holding aggressive forward angles on anti-rush rounds.
| Angle type | Exposure | Best for | Risk |
|---|---|---|---|
| On-angle (common) | Full lane view, predictable | Anti-eco, info-heavy rounds | Pre-fired and flashed |
| Off-angle | Partial lane, crosshair first | Ranked anchor holds | Miss = hard escape |
| Passive (back site) | Minimal exposure until contact | Post-plant, retake support | Low impact if no pick |
| Aggressive (forward) | Early pick potential | Anti-rush with molly backup | Die fast without trade |
T-side AWP picks and opening pressure
T-side AWP excels mid-round, not first contact. Let riflers take map control and gather info — then pick when CTs rotate or when a flash opens an angle. Opening pick on long with no utility is a coin flip against a CT AWPer holding off-angle.
After a pick, your team executes the site the rotate came from. Call the pick immediately — 'One long, one B' — so lurkers and entries adjust. A silent pick that nobody reacts to wastes the AWP's economic value.
- Default for map control — riflers take space, AWP holds an off-angle for rotate picks.
- Flash support before any wide AWP swing — see flashbang guide.
- Pick mid-round when CT utility is spent and rotates are committed.
- After pick, push the thinned site — do not re-peek the same angle for style.
- Save AWP on failed execute if round is lost — drop to teammate on winnable next.
Peek discipline — jiggle, shoulder, and commit
AWP peek discipline is the difference between a pick and a death. Jiggle peek common angles for info without committing your body. Shoulder peek to bait a shot for a rifler trade. Wide swing only with flash support or when the bomb timer forces a commit.
Subtick registration in CS2 rewards precise peeks — partial exposure that lands crosshair on head before the enemy adjusts. Re-peeking the same angle after a miss is the most common AWP death in ranked; CTs pre-aim the whiff angle every time.
| Peek type | AWP use | When | Avoid when |
|---|---|---|---|
| Jiggle | Spot AWPer without commit | AWP likely on angle | You need a kill this second |
| Shoulder | Bait shot for trade | Teammate ready to swing | Solo queue with no trade |
| Wide + flash | Entry pick | Execute with pop flash | No flash, no smoke |
| Off-angle hold | CT anchor — no peek needed | Default CT setup | Enemy has info on your spot |
| Re-peek same angle | Never after miss | — | Always — rotate instead |
Movement fundamentals — jiggle rhythm, counter-strafe after unscope — live in our movement guide. AWP players who skip movement drills die wide swinging angles they could have jiggled first.
Map-specific CT holds: Dust2 and Mirage
Learn two CT holds and one T pick per map before expanding. Dust2 and Mirage appear in most Premier sessions — these angles return the highest practice ROI.
| Map | CT hold | Position notes | T pick |
|---|---|---|---|
| Dust2 | Long corner / pit off-angle | Scope long doors; fall back to pit after tag | Long pick after cat control + flash |
| Dust2 | Mid doors gap | Quick scope mid; rotate cat on B pressure | Mid pick through smoke gap after default |
| Mirage | Window / connector | Window for A split info; connector for B rotate | Mid pick when CT smokes connector |
| Mirage | Jungle / CT spawn | Passive hold after window contact | Cat pick after A execute fake |
Full execute context — smokes, flashes, default timings — lives in the Dust2 guide and Mirage guide. AWP holds only work when utility supports the angle.
Map-specific holds: Inferno and Nuke
Inferno and Nuke punish AWPs who hold static on-angles. Banana and outside require off-angle discipline and fast reposition after contact — both lanes get molotoved and flashed every execute in ranked.
| Map | CT hold | Position notes | T pick |
|---|---|---|---|
| Inferno | Banana off-angle / coffins | Do not hold sandbags on-angles — pre-fired | Pit pick after apps control |
| Inferno | A site / pit | Passive until execute contact | A long pick with short split flash |
| Nuke | Outside / hut | Scope secret cross; rotate hut on A call | Outside pick after secret control |
| Nuke | Ramp / heaven | Post-plant and retake anchor | Secret pick when CTs stack A |
Team play around the AWP
AWP rounds are team rounds. Entries flash for the AWPer; AWPer calls miss and pick so IGL can rotate. Silent AWPs who die without a call leave four riflers guessing.
| Role | Voice call | Action | Common error |
|---|---|---|---|
| AWPer | 'AWP [angle]' at round start | Hold assigned lane | Silent hold — team pushes blind |
| AWPer | 'Pick [site]' on kill | Immediate call | No call — team does not execute |
| AWPer | 'Whiff' or 'AWP down' | Fall back; team passive | Re-peek after miss |
| Entry | 'Flashing long' | Pop flash before AWP swing | Wide swing before flash pop |
| IGL | 'Save AWP' on lost round | Coordinate exit | Force last-man AWP hero peek |
Structured comms for executes and save calls are covered in our team communication guide. AWP teams with voice discipline win more halves than teams with faster flicks.
After the shot — reposition and save rules
One kill is not the end of the AWP round — it is the start of reposition. After a pick, move to a new angle before enemies trade. CT: fall from long to site, window to jungle. T: cut rotate path, do not re-scope the same lane.
Save rules: if the round is lost and your team can full buy next with your saved AWP, exit early and preserve the gun. If you die with AWP on a lost round, your team buys rifles without an AWPer next — often a half-losing mistake.
- Pick → call → reposition within 2 seconds — not kill cam.
- CT post-plant: AWP holds defuse angle from off-spot, not bomb center.
- T post-plant: AWP covers rotate, not site — see clutch guide for 1vX.
- Save when bomb down and man disadvantage is unwinnable.
- Drop saved AWP to best rifler if you eco next — rifle > naked AWP on force.
Common AWP mistakes in ranked
| Mistake | What happens | Fix |
|---|---|---|
| Force-buy AWP on team force | Team has no rifle trades | Rifle + utility; pick up AWP later |
| Hold common on-angle every round | Pre-fired, flashed, smoked | Rotate off-angles round to round |
| Re-peek after miss | Enemy pre-aims whiff angle | Rotate; call whiff to team |
| Static after pick | Traded immediately | Reposition before they swing |
| Silent AWP — no angle call | Team pushes into AWPer | Call hold at round start |
| Double AWP default setup | Weak utility and trades | One AWP max on standard buy |
| T-side first-contact AWP | Die to CT off-angle | Mid-round pick after info |
| No save on lost round | Next round no AWP, no full buy | Exit early; save gun per economy guide |
| Wide swing without flash | Die to holding AWPer | Jiggle first; flash before commit |
| DM flick habits in ranked | Wide swing every angle | Jiggle and off-angle holds in Premier |
Review your deaths in demos — most AWP deaths are positioning and economy, not aim. Our demo review guide and aim training routine cover the practice side; this guide covers the decision side.
Frequently asked questions
Is the AWP harder in CS2 than CS:GO?
Subtick registration changes peek timing slightly — stops and scope accuracy feel different. Re-practice common angles on CS2 servers. Off-angle holds and economy discipline matter more than relearning flicks from scratch.
AWP or rifle for climbing Premier rating?
Rifles carry more consistently below 12k rating. AWP specialists can climb with strong economy discipline and trade support — but rifling ability keeps you useful when the AWP is not affordable. See our economy guide for buy cycles.
When should I save the AWP?
When the round is lost, your team can full buy next round with rifles, and saving the gun preserves that option. Do not hero-peek on unwinnable 1v3s with a $4750 weapon — exit and save per team call.
Should two players buy AWP on the same round?
Rarely. Double AWP on standard full buys weakens rifle trades and utility. Reserve it for anti-eco rounds or rehearsed CT stacks on specific maps — not default Premier queue.
What is the best AWP drill for ranked?
Empty server: hold one off-angle for 10 minutes, jiggle common pre-fire spots, reposition after each dry shot. Pair with movement peek drills. Deathmatch builds flicks; empty server builds discipline.
How do I AWP against full executes?
Delay with utility first — incendiary on choke, HE on contact — then scope from off-angle. One pick then fall back to site crossfire. Do not hold aggressive on-angles against five-man flash executes.
Why do I hit AWPs in DM but miss in ranked?
Ranked enemies jiggle, flash, and pre-aim common angles. DM rewards wide swings; Premier rewards patience and off-angles. Review demos for peek type and angle choice — not just crosshair placement.
Conclusion
CS2 AWP play wins with positioning and economy before flick speed: buy on full rounds with trade support, hold off-angles CT-side, pick mid-round T-side, jiggle before you commit, and reposition after every shot.
Next reads: economy guide for buy and save cycles, movement guide for peek discipline, Dust2 and Mirage guides for map executes, flashbang guide for entry support, and demo review to fix recurring deaths.