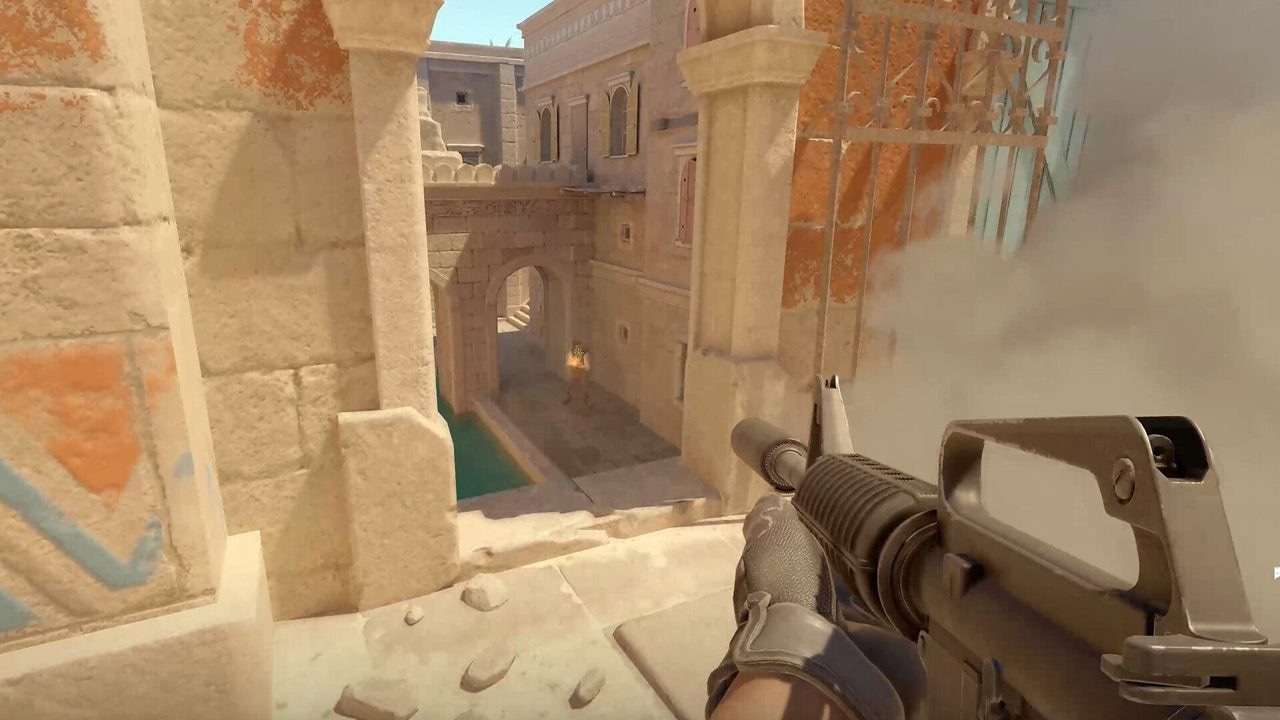
Vertigo's stacked layout confuses players who ignore ramp control, elevator timings, and fall damage. Height advantage defines gunfights—players above win trades when scaffold and sand positions are used correctly in Counter-Strike 2.
This guide covers Vertigo callouts, ramp protocols, elevator lurks, scaffold holds, fall damage rules, and CT crossfires for Steam ranked and Premier. Compare vertical play with Nuke and area control with Overpass.
Many Premier stacks auto-ban Vertigo. Teams that rehearse ramp smokes and elevator timings gain free wins when opponents pick it unprepared—see map pool update 2026 for rotation status and the Steam CS2 page for current Active Duty listings.
Quick answer: Vertigo essentials
- Callouts: ramp, A site, B site, elevator, mid, scaffold, sand, ladder.
- T side: ramp control before any site commit.
- A hit: ramp smoke + elevator flash; watch fall damage on edges.
- CT: one ramp flex, one A anchor, B duo or mid flex.
- Elevator noise gives info—vary timing on lurks.
- Height advantage wins trades; scaffold and sand are key post-plant angles.
Key takeaways
- Ramp control is Vertigo's equivalent of mid control on flat maps.
- Elevator lurks catch rotating CTs when timed with execute contact.
- Fall damage is real—avoid unnecessary drops; use ladder when possible.
- B site is tighter than A—utility mandatory on every execute.
- Scaffold provides height over A site; CTs and Ts both fight for it post-plant.
- Premier teams that practice Vertigo turn it from ban into comfortable pick.
Table of contents
- Key takeaways
- Vertigo callouts every player needs
- Ramp control and T-side defaults
- Elevator, scaffold, and height advantage
- Fall damage awareness on Vertigo
- CT setups and crossfires
- Vertigo vs other map guides
- Common ranked mistakes on Vertigo
- Troubleshooting Vertigo ranked losses
- Frequently asked questions
- Conclusion
Vertigo callouts every player needs
Specify upper vs lower in comms—'A site upper' and 'A site lower' prevent rotation confusion. Elevator and ladder are distinct paths; calling 'elevator' when you mean ladder loses rounds.
- Ramp / A Site / B Site / Elevator / Scaffold / Sand / Mid / CT
- Lower / Upper / Ladder / Side / Pillar / Generator / Catwalk
- A Ramp / B Ramp / Drop / Edge (fall damage zones)
Ramp control and T-side defaults
Smoke ramp cross early every T round unless mid control dictates otherwise. Ramp control opens A executes and cuts CT rotates between sites. Without ramp, Ts funnel into single-file choke points.
Flash elevator before A commit. One player holds ramp while others execute A or shift B. B hits need ramp player to lurk elevator when CTs stack A—elevator timing wins clutch rounds.
| Execute | Utility | Win condition |
|---|---|---|
| A ramp hit | Ramp smoke + elevator flash | Trade ramp, flood A upper |
| A elevator split | Ramp smoke only | Elevator contact as team enters A |
| B site hit | B ramp molly + flash | Fast plant before CT ramp rotate |
| Ramp lurk default | Smoke ramp, hold angle | Info and pick before site commit |
Elevator, scaffold, and height advantage
Elevator drops are loud—use them for executes with flash support, not silent lurks unless CTs are distracted. Last 20 seconds of round, CTs shift toward planted site; elevator lurk from opposite site catches isolated rotators.
Scaffold overlooks A site and provides height advantage in post-plant. Ts post-plant scaffold; CTs retake through sand and elevator angles. Sand pit offers cover with elevation—learn both CT and T post-plant positions.
Height advantage means headshot angles favor the elevated player. Fight from scaffold and sand when possible; avoid dropping to lower A without trade support. Fall damage punishes sloppy movement—see fall section below.
Fall damage awareness on Vertigo
Vertigo punishes players who jump off edges for speed. Fall damage can drop you to 30 HP before a site fight—guaranteed loss. Use ladder and elevator paths when possible. Only drop when trade is confirmed or time forces it.
CTs retaking A should ladder up rather than drop from scaffold if low HP. Ts planting default should note escape paths that avoid fall damage. Valve tuned Source 2 fall damage consistently—treat every edge as lethal at competitive speeds.
CT setups and crossfires
Ramp flex player is highest impact—call elevator steps and B ramp pressure before rotating. Avoid double push ramp without trade; Ts love ramp picks when CTs ego peek in pairs.
| Setup | Roles | When to use |
|---|---|---|
| 2-1-2 default | Ramp flex, A anchor, B duo | Most ranked rounds |
| A stack read | Three A on ramp audio | Anti-rush after yard-style info |
| B heavy | Two B, one ramp flex | When Ts default B ramp noise |
| Elevator hold | One elevator, one scaffold | Post-plant A retake |
Vertigo vs other map guides
| Map | Vertical element | Vertigo parallel |
|---|---|---|
| Nuke | Heaven/hell, secret | Both vertical; see Nuke guide |
| Ancient | Temple / donut | Less fall damage, more chokes |
| Mirage | Palace / cat | Height on Vertigo more extreme |
| Dust2 | Long / cat | Flat map contrast for practice variety |
| Train | Ivy / inner | See Train guide |
Common ranked mistakes on Vertigo
- Committing A or B without ramp control or smoke.
- CTs double pushing ramp with no trade setup.
- Dropping from scaffold for speed and taking lethal fall damage.
- Predictable elevator timing every round—CTs pre-aim.
- B execute without utility on tight choke.
- Ignoring sand and scaffold post-plant angles.
Troubleshooting Vertigo ranked losses
Vertigo losses often come from ramp fights and fall damage. If ramp entries fail, smoke timing or lack of elevator trade is the cause. If you arrive at site at 30 HP, fall damage pathing is the fix target.
Practice ramp smoke in empty server for ten minutes before Premier queue. Pair with movement guide for ladder and drop discipline.
| Problem | Likely cause | Fix |
|---|---|---|
| Ramp always lost | No smoke, dry peek | Smoke ramp cross every round |
| Elevator picks every time | Same timing | Vary elevator vs ladder entries |
| Low HP on site entry | Fall damage from edges | Use ladder paths only |
| Cannot retake A | No scaffold angle | Hold sand + elevator crossfire |
| B always stacked | No ramp lurk on A fake | Fake A ramp, hit B late |
Frequently asked questions
Why do players ban Vertigo in Premier?
Unfamiliarity with ramp and elevator timings. Teams that practice gain a large edge—many opponents pick Vertigo expecting an easy win.
How much fall damage does Vertigo deal?
Enough to ruin gunfights. High drops from scaffold or A edges can leave 30 HP or kill outright. Use ladders and elevators when possible.
Is ramp or elevator more important on Vertigo?
Ramp control first—it opens the map. Elevator timing second—for splits, lurks, and post-plant.
Best post-plant position on Vertigo A?
Scaffold and sand crossfire. Height advantage beats lower site holds when paired with time.
Should CTs stack A on Vertigo?
Only on anti-rush read after ramp audio. Default 2-1-2 avoids readable stacks every pistol.
Is Vertigo in Active Duty 2026?
Vertigo rotates in Premier pool. Confirm on map pool update and Valve's Counter-Strike updates.
Vertigo or Nuke for learning vertical maps?
Start Nuke for outside/secret structure, then Vertigo for ramp/elevator. Both appear in Premier—see Premier guide.
Conclusion
Vertigo rewards ramp discipline, elevator variation, and fall damage awareness. Master scaffold height and stop auto-banning—opponents who pick it unprepared donate Premier rating.